ITEMS ADDITION IN FEW EASY STEPS
Highlighting the process of generating ethereum powered QR codes for your products to protect them against loss
Protect your valuables from loss in 5 easy steps:
- Go to app.recover.ws
- Click on the “Add Item” button as the first step of securing your item. You can also do this by finding the same on the right side of the screen.
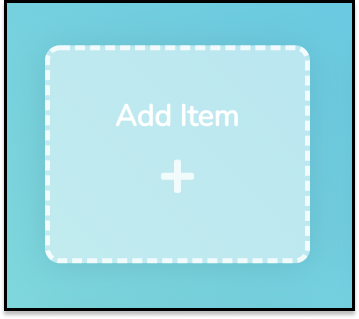
Click on ‘Add Item’ to secure your valuable - You will be taken to a new item page which will allow you to configure an item. Here, you can select from a list of multiple items.
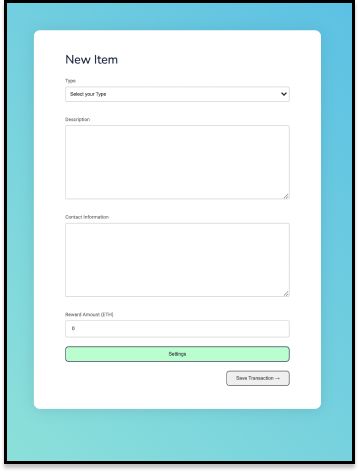
Form to add details - Select the item you want to add from the dropdown list.
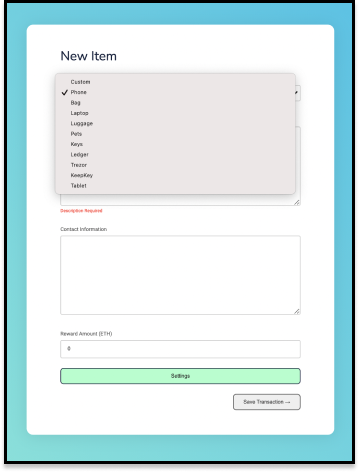
Select the item from the list of choices - Give a brief description of your item.
- Provide your contact information. This will be used in case your item is found and the finder needs to contact you.
- Enter the reward amount in ETH (Ethers).
- From the Settings button, you can set your personal information like email, phone number, fund claims (ETH), time locked (in seconds).
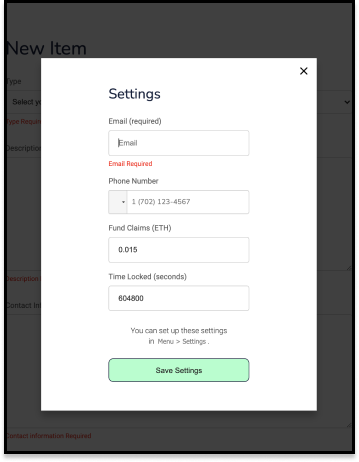
Fill the desired settings - Click on the “Save Settings” button to register your request. A metamask window will open which will ask you to verify your signature to make sure you are the owner of the current address.
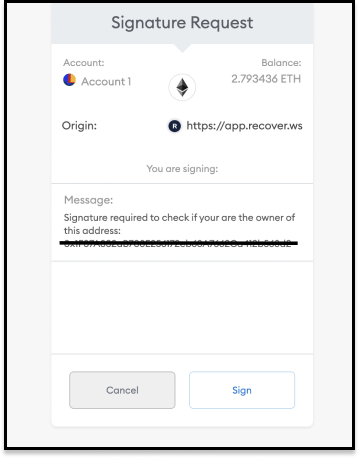
Metamask window to verify signature - Click on Sign to save your request. You will be redirected to the add item page. Here, you can save your transaction by clicking on the “Save Transaction” button.
- Select the item you want to add from the dropdown list.
- You will get a metamask message which will show you the details of the transaction specifying the total amount to be transferred (Amount + Gas fee). Click on Confirm to finish the configuration of your product.
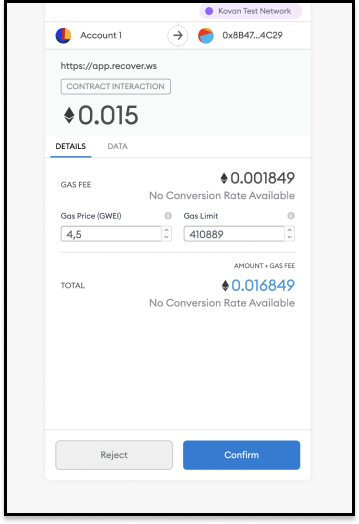
Metamask window with transaction details - You will see a window which will give you the details of your configured product with like description, contact information, and reward. Also you get the QR code which can be printed as per your need.
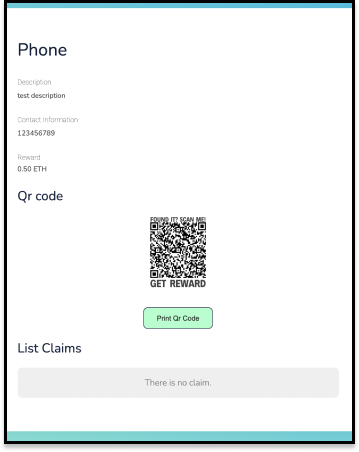
QR code for the configured item
You can repeat the same process 🔁 for all the items you want to secure using Recover.